
-20
%

Blue 4H
Steam headlight restorer + 1 refill liquid, blue, 4H, certified by a laboratory. Thanks to this...
€39.89
€49.90
Permanently out
Products related to this item
Blue 4H
Steam headlight restorer + 1 refill liquid, blue, 4H, certified by a laboratory. Thanks to this...

Transparent 5H
AGM Vision exclusive revolutionizing headlight renovation.

600ml 5H
Premium 5H formula, long-lasting result. 600 ml.

600ml 4H
Liquid refill, blue, 4H, laboratory certified. 600 ml.

Complete Pack: Abrasives P180 to P2000 + Electric or Pneumatic Sander

Super powerful foam, immediate action to eliminate mosquitoes, grease...

48 mm wide blue masking tape, designed to protect seals, plastics and adjacent surfaces during...

Professional masking tape 24 mm wide, designed to protect seals, plastics and adjacent bodywork...

Polishing backing pad Ø 80 mm to be attached to a standard drill to refurbish headlights. It dr...

Restore shine to your dull or yellowed headlights with this headlight polishing kit, specially...
AGM Vision may offer the best LEDs on the market, but if you order them from our online store and install them on dirty, damaged headlights, you’ll lose out on performance and the “wow” factor.
Most motorists think that a quick clean of their headlights at the car wash is enough. That may be true for a new car, but over time, about every two or three months, you need to go further and move from simple cleaning to headlight restoration, for safety reasons and, possibly, for aesthetic reasons. How do you restore your car headlights? We’ll explain our tips and, first of all, why your headlights deteriorate so quickly.
Looking for the equipment right away? Check out our headlight restoration kits and our polymerization restorers.
Yellowed or scratched headlights have a direct impact on lighting quality and therefore on your safety. Those of us who are older remember when headlights were made of glass, but, for safety, durability, and cost reasons, manufacturers switched to polycarbonate in the 80s. This extremely strong plastic does have its advantages. Its drawback: it tends to deteriorate quickly, because the plastic film on its surface is very sensitive to ultraviolet rays and the elements. In addition, it scratches easily during cleaning and everyday use.
➡️ A yellowed headlight can lead to a loss of efficiency of 50 % to 80 %.

Car headlight to be restored for optimal clarity
It is always preferable to remove your headlights for cleaning. This allows you to restore the entire headlight, especially the most inaccessible areas. For example, cleaning between the fender and the headlight or around the front bumper can be tricky, depending on the vehicle. Don’t get too adventurous, because it’s always easier to take things apart than to put them back together. If your headlights cannot be removed easily, all headlight restoration techniques can be used on a headlight in place, provided you properly protect the area around the work area with masking tape. Ideally, apply this protection before each sanding and polishing step.
From the best-known technique to the most durable, here you’ll find how to restore your headlights according to their condition, particularly with our headlight restoration kits.
⭐ This polishing technique without sanding is intended only for headlight lenses that are not yet too yellowed or scratched.
To start, you need to work on a clean surface. The headlight must be meticulously cleaned and dried. Get a restoration kit consisting of several foam pads with a diameter of Ø100 mm, in different hardnesses, as well as a drill or polisher (preferably orbital) fitted with a small-diameter backing plate, from Ø75 to 100 mm. This will be easier to use and will make it easier to reach the corners of the headlight lens. Don’t forget polishing products (polish), with varying levels of abrasiveness.

Active Foam Aerosol
⭐ Compared with the previous technique, this one is more professional.
Long used in many garages and body shops, this technique is very effective and can restore very cloudy, yellowed, or even scratched headlights.
Nowadays, it is evolving and gradually being replaced by the gas restoration technique, which is faster and provides a clearer, more spectacular result.
To make sanding easier, equip yourself with a complete headlight restoration kit: a sander preferably fitted with a small-diameter backing plate, sanding discs with different levels of abrasiveness, and don’t forget the foam interface between the machine’s backing plate and the abrasive disc, so that the sanding paper conforms perfectly to the shape of the headlight. This allows for more even sanding and limits hot spots.
⭐ The headlight restoration technique using steam is very effective for headlights that are badly damaged, yellowed, or very scratched.
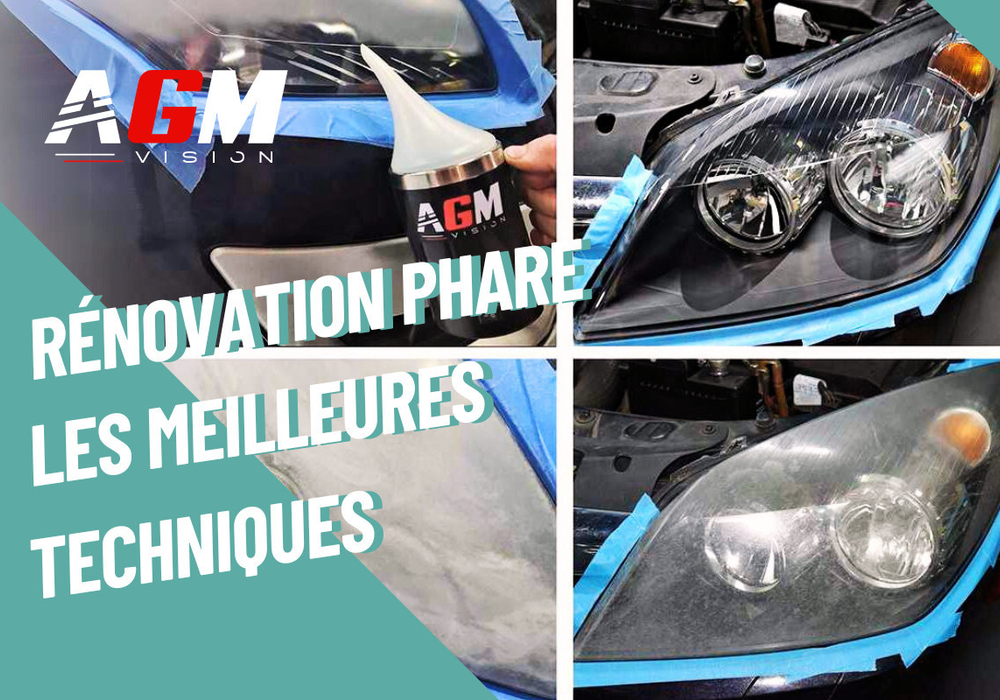
Also known as “ gas headlight restoration ” or “ headlight restoration by polymerization ”, this new generation of restoration works through a chemical reaction called “ polymerization ”. This process involves small molecules reacting with one another to form molecules with higher molar masses. To carry out the polymerization process optimally, simply sand the headlight, then apply the steam produced by the product in the heated stainless steel container. The result is stunning and the clarity incredible. It is the quickest service to perform compared with all the others.
Of course, AGM Vision offers its own solution to show you how to restore your headlights. Suffice it to say that, if our business is designing LEDs for vehicles, the headlight is their showcase! When our customers come to our workshop to have LEDs installed, it would be absolutely unacceptable to return a vehicle to them without carefully restored headlights. Here again, we of course started by testing competing products, but the results were not up to standard, nor durable enough for our liking, and the equipment fell a little short of our requirements. So we designed our own steam restoration solution using “ polymerization ”, which we believe is one of the best alternatives on the market. We exclusively offer in France a more effective and durable polymerization product than those usually found on the market. Our secret lies mainly in the product’s composition, formulated with purer agents and no residue, as you’ll see from its transparent color. Using this product allows for better steam distribution and, as a result, a better outcome. Using a 5H formulation makes the result much more durable than that achieved with conventional blue polymerization products, which are less refined and more sensitive to external damage.

NEW Premium 5H steam headlight restoration kit ⭐⭐⭐⭐⭐
It includes:
➡️ Find our steam headlight restoration kits in our store, available in an entry-level version (laboratory quality) or a Premium version for an impeccable finish.
Our recommendation? The Premium steam headlight restoration kit, a best-seller acclaimed by automotive enthusiasts and professionals.
It is ideal for anyone looking for a durable result with no compromises: before a track day, a competition, a car show, a concours d’élégance or, quite simply, to regain optimal lighting quality without having to repeat the restoration a few months later.
⭐ This headlight restoration technique is the most durable and produces very good results, but in return, it requires much more expertise than all the others: professional equipment, a dedicated environment, and time, taking into account the drying time of the clear coat.
Were you wondering how to restore your car headlights? Now you have the answer! Visit our social media regularly: YouTube, Facebook, Instagram, as well as our website. This way, you can learn about the latest developments and AGM VISION devices for effective headlight restoration, depending, of course, on your requirements and budget.
Frequently asked questions
Both in terms of safety and aesthetics, vehicle lighting is a crucial aspect. Discover the different...
Read moreLED neon lights, interior lighting, yellow headlights, LED bars and detailing: our gift ideas for ca...
Read moreOur gift ideas for motorcyclists, for Christmas, Father’s Day or a birthday: LED lighting, auxiliary...
Read more