
Pro masking tape 24 mm
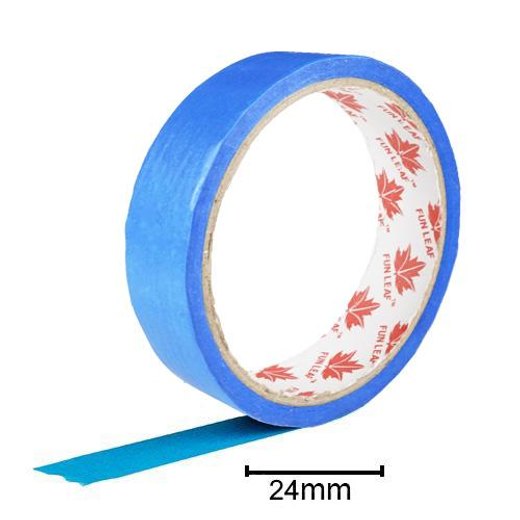

Professional masking tape 24 mm wide, designed to protect seals, plastics and adjacent bodywork areas during sanding or polishing. A precise format, ideal for masking around the perimeter of the lights during a headlight restoration.
Secure payment
Your payment details are entered on our bank's or PayPal's website, never on ours.






Pro masking tape 24 mm: protect before sanding and polishing
The Pro 24 mm masking tape is a protective adhesive used in automotive detailing and headlight restoration. Applied on the seals, plastics and bodywork that border the work area, it prevents any accidental contact with an abrasive disc, a polishing pad or a cleaning product. Its 24 mm width makes it possible to precisely follow the contour of the headlight lenses and trim.
What masking is used for in detailing
- Protect the fenders and the bumper during the sanding of a headlight lens
- Isolate seals and plastics during bodywork polishing
- Mark out a test area before applying a product to an entire surface
- Temporarily hold a plastic protection or masking paper
Why choose a 24 mm width
The 24 mm width is the versatile masking format: narrow enough to follow the curves of a headlight lens or a strip, wide enough to offer a proper safety margin against a sander. To cover larger surfaces in a single pass, the 48 mm masking tape is quicker to apply, and the two widths complement each other on a restoration job.
An essential accessory in headlight restoration
Before sanding a dull headlight, masking the perimeter is a mandatory step: the abrasive grits used to remove the original clear coat would scratch the paint in case of contact. Pair this tape with a complete abrasive kit for headlight restoration to work cleanly, from the first sanding through to the finish.
Instructions for use of the pro masking tape 24 mm
Masking is applied to a clean, dry surface: dust and greasy residues reduce the tape’s adhesion and let products through. Take the time to clean the area before unrolling the adhesive.
Mask before a headlight restoration
- Clean and dry the area around the headlight as well as the lens.
- Apply the tape to the bodywork, the bumper and the seals that touch the lens, following its outline.
- Double up the masking on the areas most exposed to the sander passing over them.
- Press the tape down with your finger to push out bubbles and secure the edges.
- Sand, then polish the lens, and remove the tape once the work is finished.
Mask before polishing
- Isolate the seals, unpainted plastics and trim strips close to the area to be polished.
- Cover the bodywork edges, where the clear coat is thinner.
- Polish, then remove the tape slowly by pulling at an angle.
Good to know
Remove the tape without waiting several days: the longer an adhesive stays in place, the harder it becomes to remove cleanly. Avoid applying it to a scorching hot or frozen surface.
- PREMIUM 5H steam headlight renovation kit
- Refill for PREMIUM 5H steam headlight restorer 600 ml
- Steam headlight restoration kit STD 4H (eco version)
- STD 4H headlight restorer steam refill 600 ml
- Complete Abrasive Kit for AGM Vision Headlight Renovation
- Blue microfiber applicator Chemical Guys
- 75mm Pneumatic Orbital Sander Headlight Renovation
- Mini Orbital Polisher 75mm - 380W - Variable Speed 3000 to 7200 RPM
- Blue masking tape 48 mm
- Total Interior Interior Protectant Cleaner Chemical Guys
- Chemical Guys Complete Detailing Kit
- Cup power supply 4H